With vacation season upon us, setting an Out of Office message for your email helps keep things running smoothly in your absence. Here's how to set this feature up in Outlook:
1. When in the Outlook app, click on “File” in the top navigation bar.

2. Select “Automatic Replies (Out of Office)”

3. This brings up a pop up window. In this window, click “Send Automatic Replies”
4. Select “Only send during this time range”
5. Select the date range that you'll be out of the office
6. Below the date range, there are two tabs- "Inside my Organization" and "Outside my Organization". This lets you send a different out of office message to CCIers than to people outside CCI.
7. In each tab, type up your out of office message. If using the same message for both inside and outside the organization, you can copy and paste the text to the second tab.
4. Select “Only send during this time range”
5. Select the date range that you'll be out of the office
6. Below the date range, there are two tabs- "Inside my Organization" and "Outside my Organization". This lets you send a different out of office message to CCIers than to people outside CCI.
7. In each tab, type up your out of office message. If using the same message for both inside and outside the organization, you can copy and paste the text to the second tab.

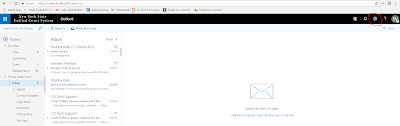
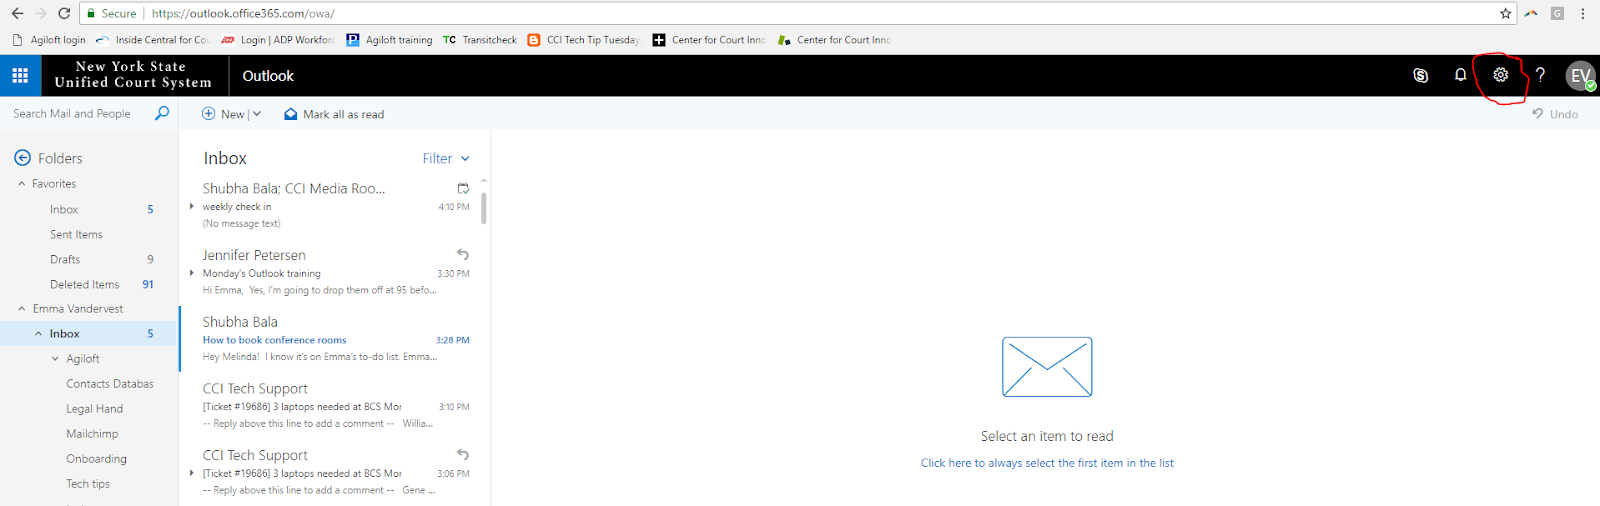
8. If you are accessing Outlook via the web, Out of Office messages are in a different place. Click on the gear icon in the upper right hand corner.
9. Click on “Automatic Replies”

10. Here, the text box for writing the message to people inside the organization is above the text box for writing the message to people outside the organization.
9. Click on “Automatic Replies”

10. Here, the text box for writing the message to people inside the organization is above the text box for writing the message to people outside the organization.

Whether you set this up in the Outlook app, or via the web version of Outlook, no need to manually disable your Out of Office message once you're back from the beach, Outlook disables it automatically once the date range you selected is over.
Comments
Post a Comment